Which kitchens can be sprayed
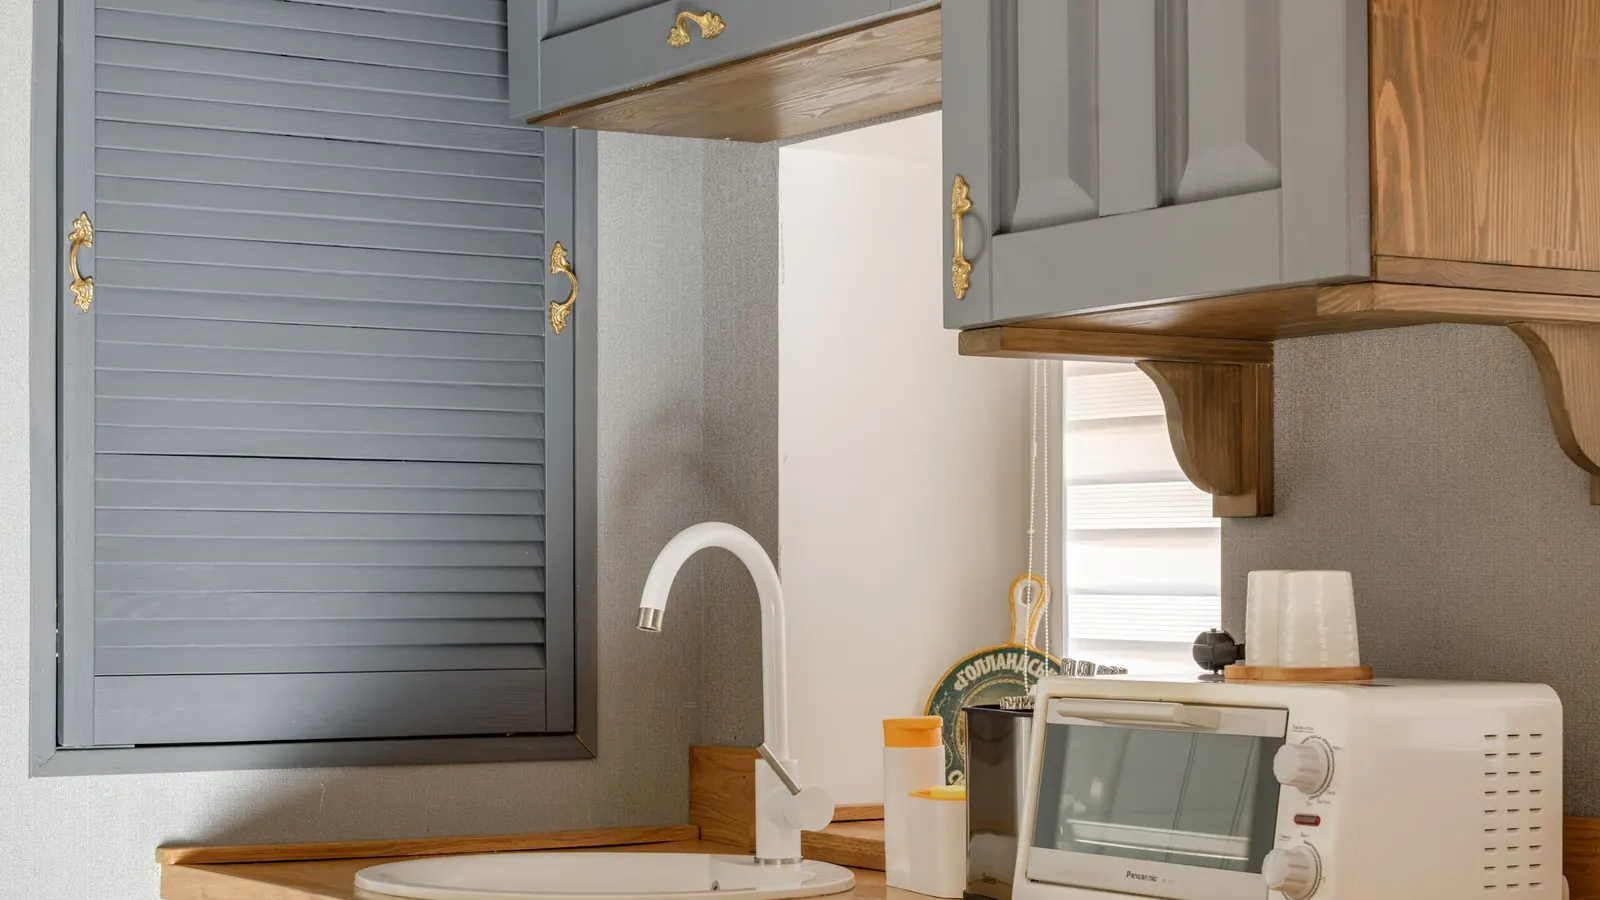
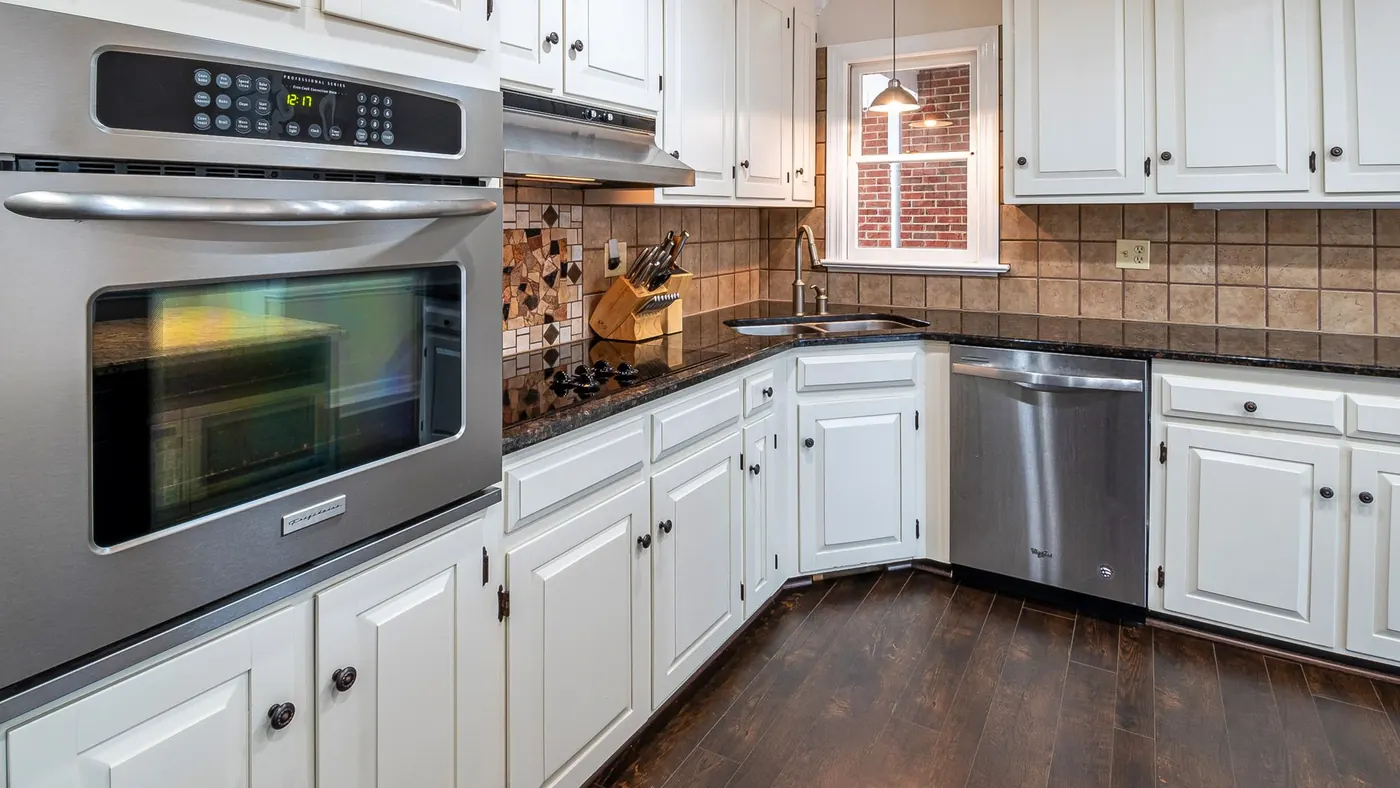
Almost any door with a sound surface can be sprayed: solid timber, veneered, MDF, vinyl-wrapped and even laminate and high-gloss acrylic, each with a different primer. The ones to think twice about are vinyl wraps that are already peeling at the edges (the wrap has to be removed or the peel will continue under the paint), doors with water damage that have swollen at the bottom, and very cheap chipboard doors where the money is better spent on new fronts. A decorator will tell you which of these you have at the survey.
Why the doors leave the flat
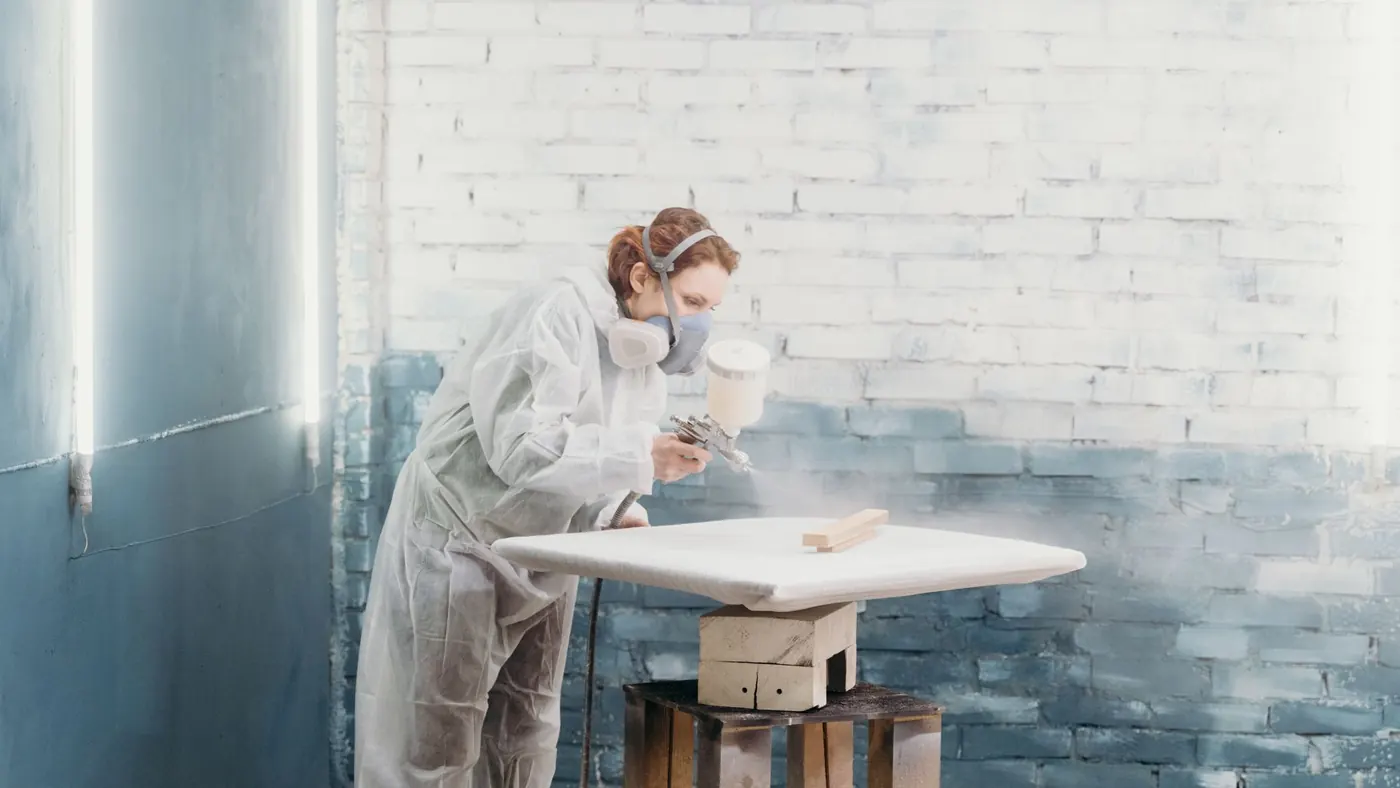
Doors and drawer fronts come off their hinges on the first day and go to a workshop. Spraying them flat means no runs, both faces and all four edges coated, and a controlled, dust-free environment for the lacquer to cure. Carcasses, end panels, plinths and cornices stay in the flat and are sprayed in place behind full masking. This split is why a professional respray looks like a factory finish on the parts you touch and see most. A "sprayed in situ" job where the doors stay hung is quicker and cheaper and it shows.

Degreasing, keying and priming
Kitchen grease is the reason most resprays fail. Doors are washed with a degreaser (sugar soap is not enough), rinsed, dried and then abraded with a fine pad to give a key. Handles come off and the holes are filled if the new handles are a different size. An adhesion primer designed for the surface goes on next: a specialist primer for laminate and vinyl, a standard water-based primer for previously painted timber. The primer is what makes the topcoat stick for years rather than months.
The lacquer and the sheen
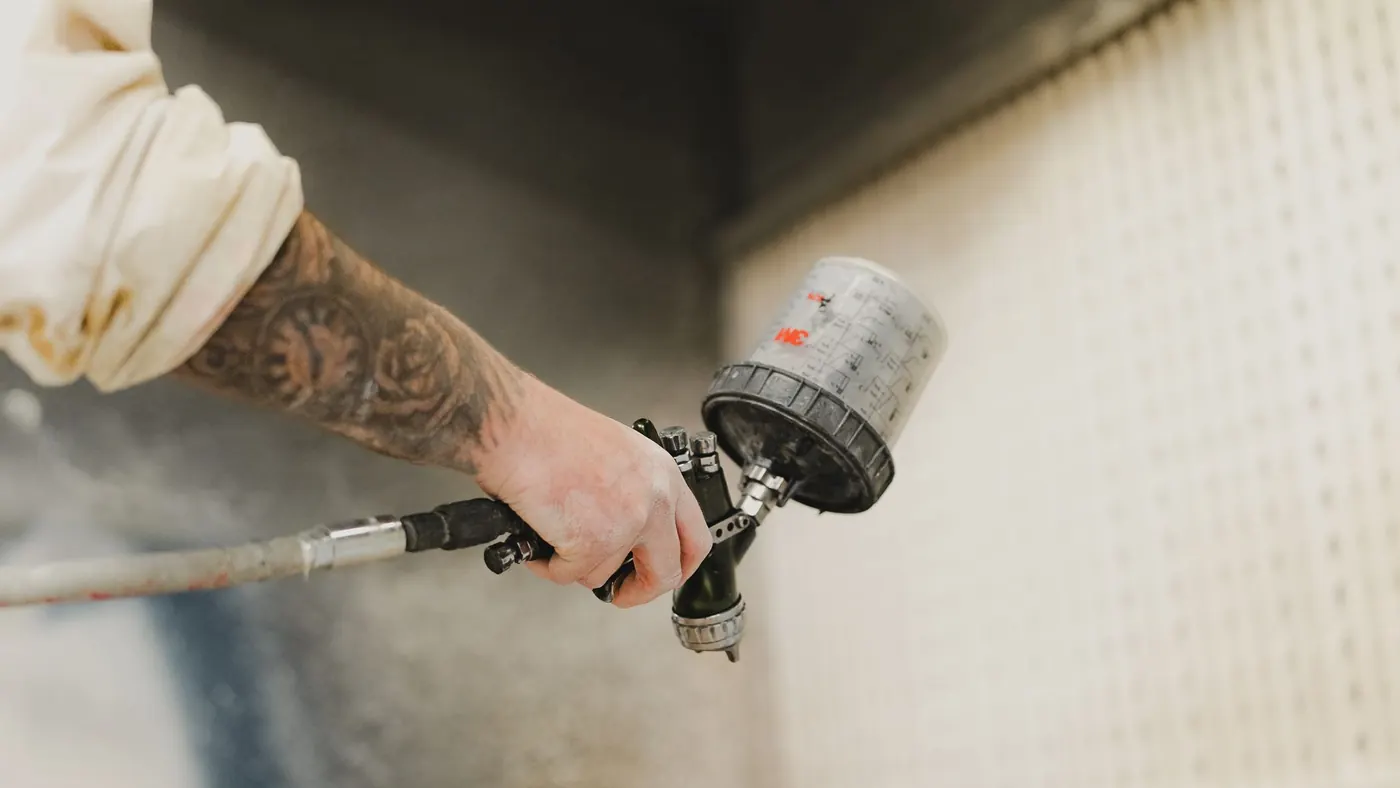
The topcoat is usually a two-pack polyurethane or a waterborne polyurethane lacquer, applied in two to three thin coats with an HVLP gun. Matt and eggshell hide fingerprints and are the most popular; satin wipes cleanest; high gloss looks like a car and shows every flaw, so it needs an extra filler-primer stage. Colours are mixed to any reference: a RAL or NCS code, a paint brand colour or a sample you supply. The spray painting service sends you a sprayed sample on a door offcut before the job starts.
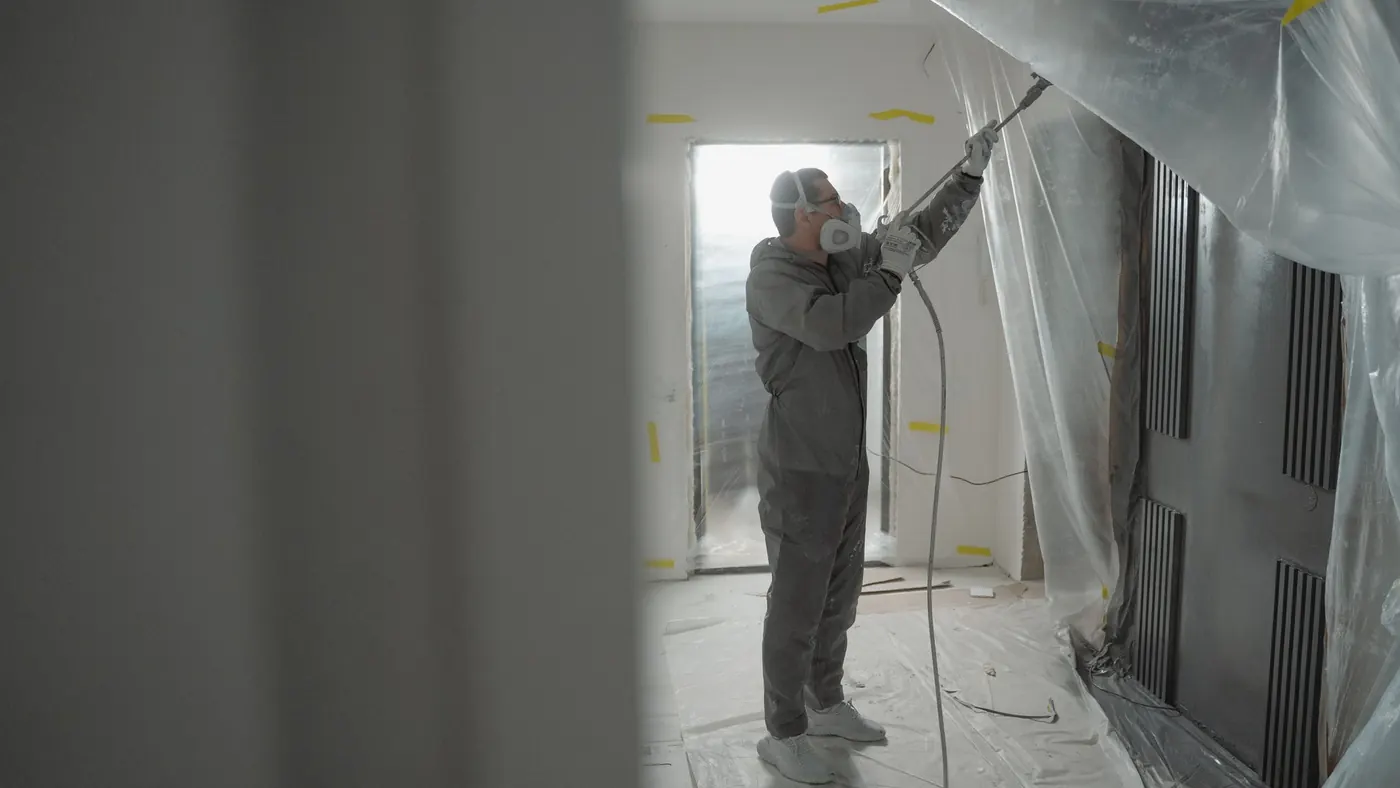
The in-place spraying days
With the doors away, the decorator returns to spray the carcasses. The kitchen is sealed with polythene, the worktops, appliances, sink and floor are masked, extraction is set up and a respirator is worn. This part usually takes one to two days, and the kitchen is out of action during them. Sensible things to do beforehand: empty the cupboards that are being sprayed inside, move the fridge if it is freestanding, and plan meals elsewhere.
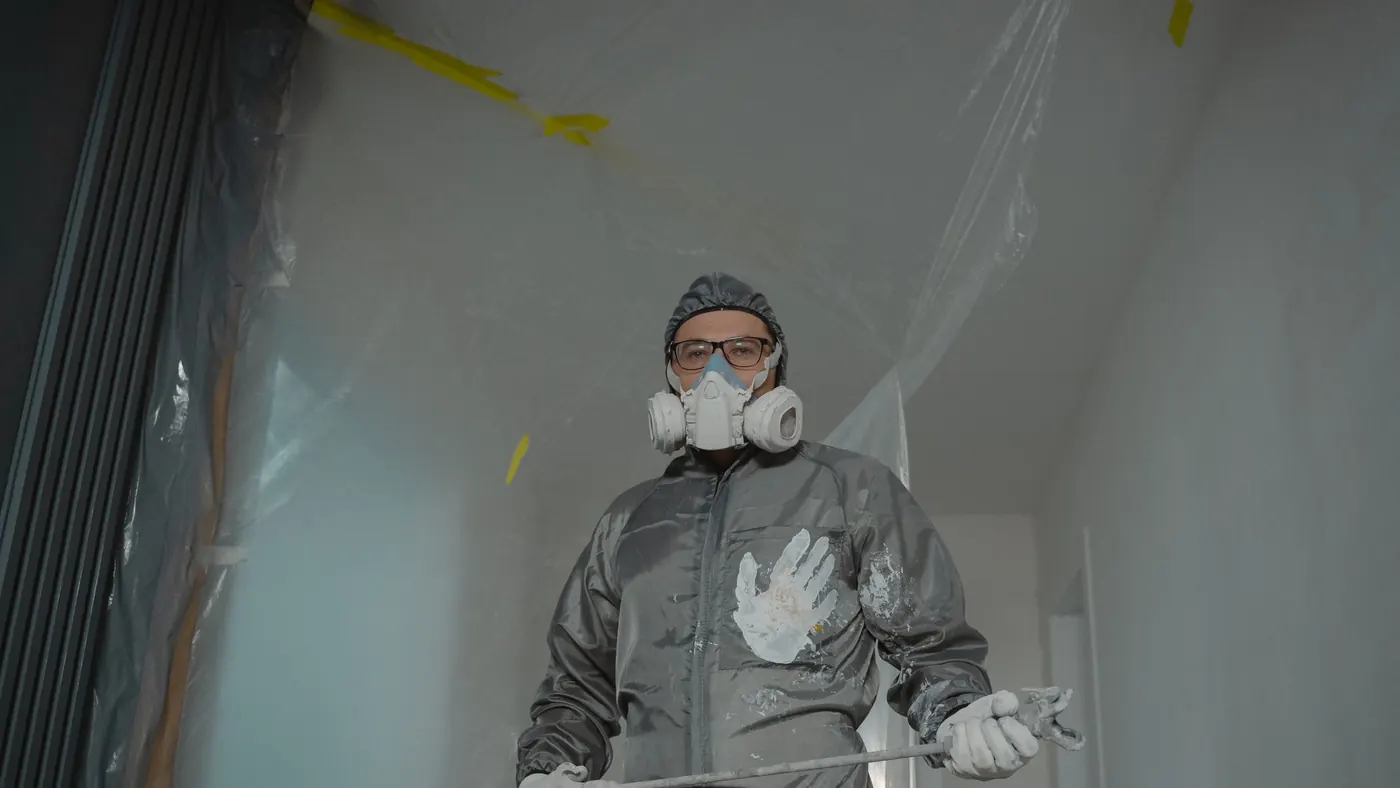
Curing, rehanging and adjusting
Sprayed doors are touch dry quickly but need several days to harden before they can be handled and rehung without marking. On the return visit the doors go back on, hinges are adjusted so the gaps are even, new handles are fitted, and any tiny nibs are polished out. A full kitchen of 20 to 25 doors typically runs a week to ten days from collection to rehang, with the flat's kitchen unusable for only the in-place days.
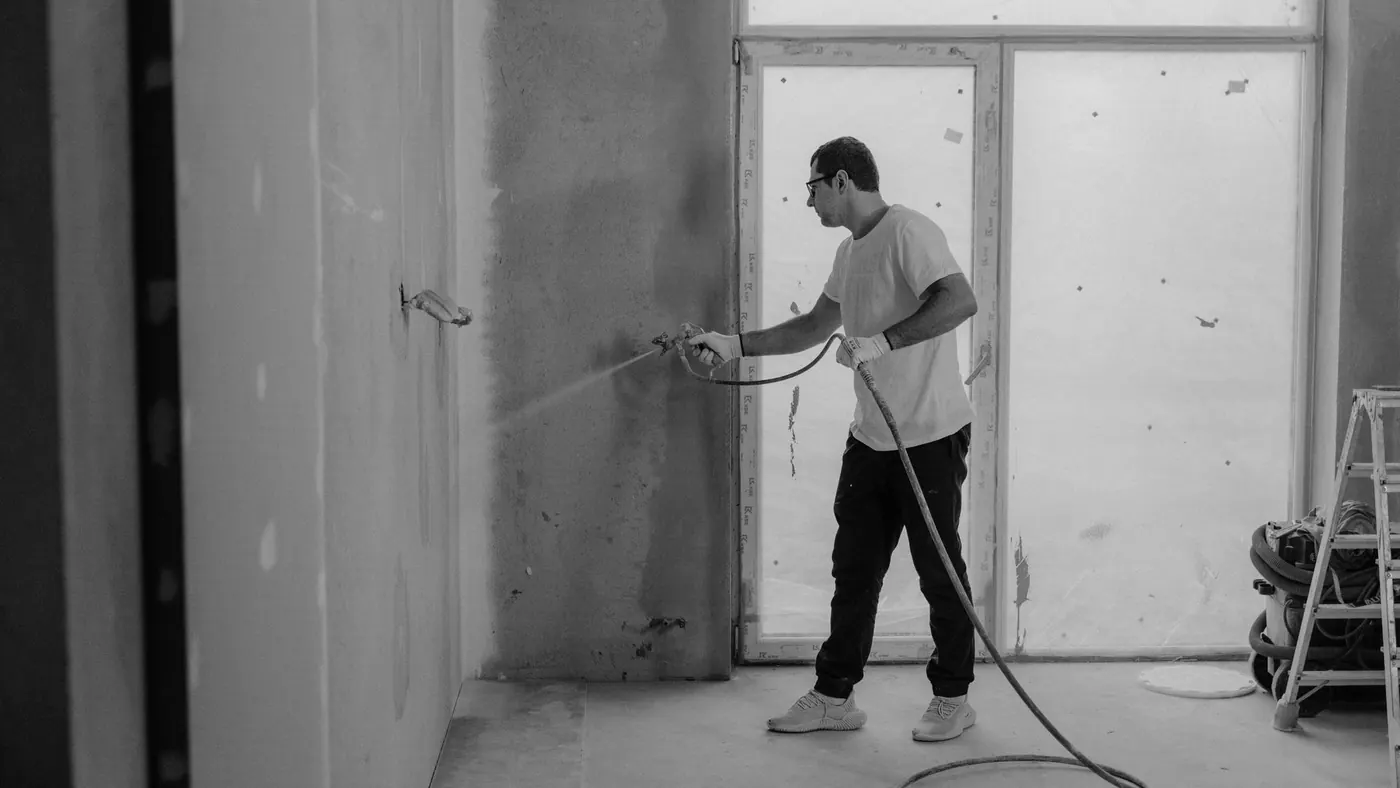
Where resprays fail, and how to avoid it
The weak points are always the doors by the hob, the sink and the bin: heat, water and hands. A good respray builds the film up there and uses a wipe-clean sheen. The other failures are preparation shortcuts: no degrease, no adhesion primer, doors sprayed hung, or a single thick coat instead of three thin ones. Ask any decorator you are considering exactly what primer and lacquer they use and whether the doors leave the property. If the answers are vague, so will be the finish. For timber doors where the grain is worth showing, a clear sprayed lacquer or varnish finish is the alternative to paint.